Threaded inserts are versatile components widely employed in the manufacturing sector. While they offer immense benefits, the need for their removal may arise due to design changes, maintenance requirements, or repairs. If you find yourself tasked with removing threaded inserts, this article will provide you with a thorough understanding of the techniques, tools, and considerations involved in this crucial process.
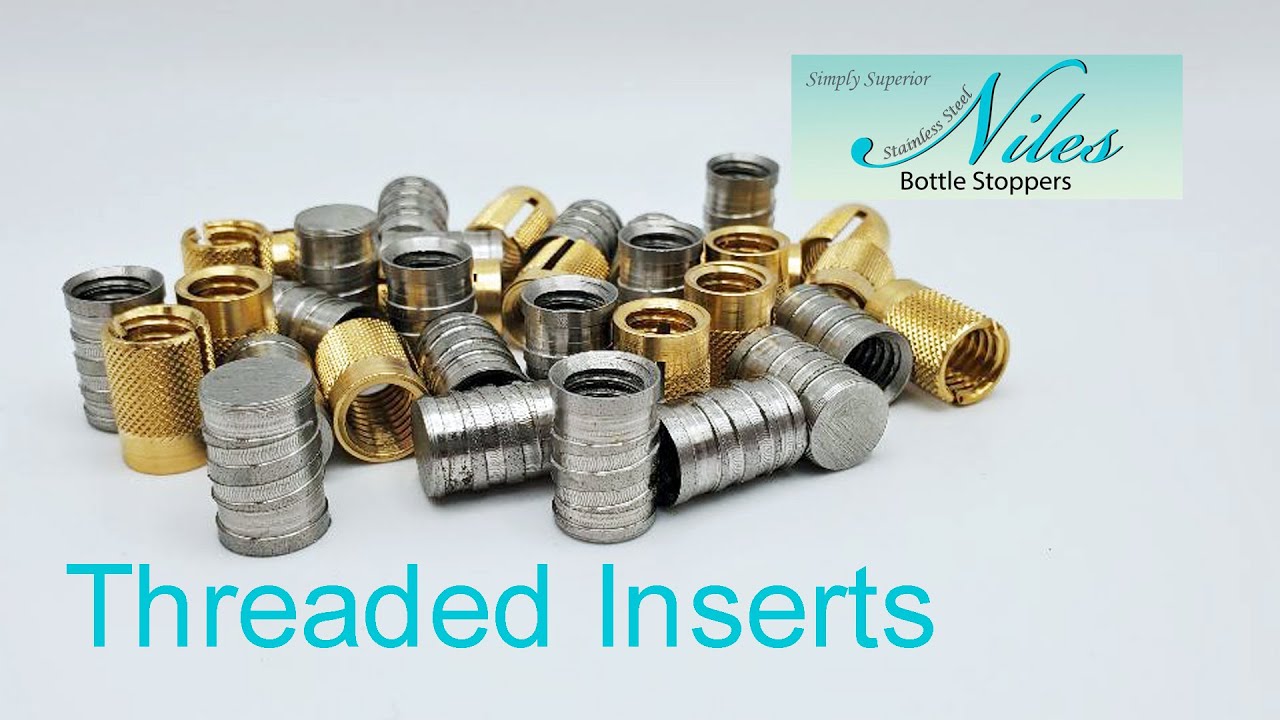
Image: www.youtube.com
Understanding Threaded Inserts and their Applications
Threaded inserts, often referred to as nutserts or rivet nuts, are cylindrical or hexagonal-shaped inserts embedded into thin materials such as metal sheets or panels. They provide secure and durable threaded holes for fastening components, eliminating the need for tapping or welding. Threaded inserts are used extensively in industries such as automotive, aerospace, electronics, and construction.
The Significance of Removing Threaded Inserts
The ability to remove threaded inserts is essential for various reasons. It allows for the replacement of damaged or worn inserts, the modification of designs, the access to hidden areas behind the insert, and the correction of misalignments during the assembly process. Removing threaded inserts requires careful consideration and the correct techniques to avoid damaging the surrounding material or the insert itself.
Techniques for Removing Threaded Inserts
1. Reverse Rotation Method:
This method involves using a drill or screwdriver to rotate the insert counterclockwise. As the insert rotates, it will loosen from its housing. This technique is suitable for threaded inserts that are not heavily embedded or seized.
2. Pull-Out Method:
For firmly embedded inserts, a pull-out tool or slide hammer can be employed. Insert a pull-out tool into the insert and attach the tool’s slide hammer. Apply force to pull the insert straight out, ensuring even distribution of force to prevent damage to the material.
3. Internal Expansion Method:
This technique utilizes a tool called an expander, which is inserted into the insert. The expander applies pressure against the insert’s internal threads, causing it to expand and loosen. This method is particularly effective for inserts with large diameters or those that are deeply embedded.
4. Heat and Solvent Method:
In cases where threaded inserts are seized due to corrosion or welding, applying heat and a solvent can help to loosen them. Heat the insert using a torch or heat gun, taking care not to overheat the surrounding material. Apply a solvent such as penetrating oil or acetone to the insert threads and allow it to penetrate for several minutes before attempting removal.
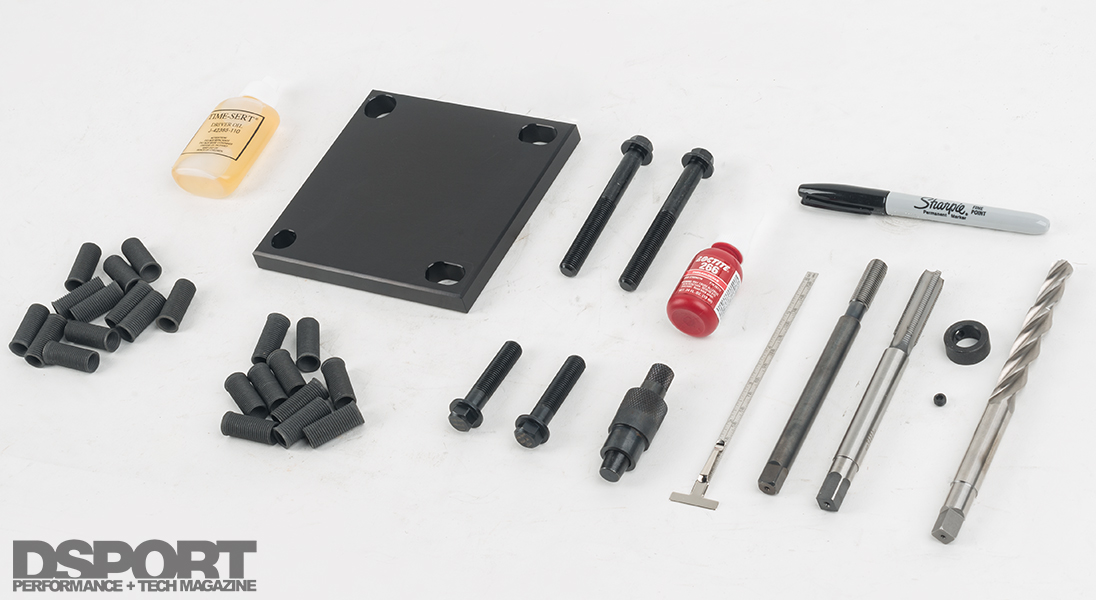
Image: dsportmag.com
Tools for Removing Threaded Inserts
The choice of tool for removing threaded inserts depends on the insert type, its embedment depth, and the available access. Some recommended tools include:
- Drill or Screwdriver for the reverse rotation method
- Pull-Out Tool with slide hammer for the pull-out method
- Internal Expander for the internal expansion method
- Heat Gun or torch for the heat and solvent method
Considerations for Removing Threaded Inserts
- Safety Precautions: Wear appropriate safety gear such as gloves and eye protection when removing threaded inserts.
- Material Compatibility: Ensure that the selected method and tools are compatible with the material of the insert and the surrounding component.
- Blind Inserts: Removing blind inserts (those not accessible from the opposite side) may require additional tools or techniques.
- Damaged Inserts: If the insert is damaged or severely seized, it may be necessary to cut or grind it out carefully, taking precautions to avoid damage to the surrounding material.
- Maintenance: After removing threaded inserts, inspect the surrounding material for any signs of damage or corrosion. Make necessary repairs or replacements to ensure the integrity of the assembly.
How To Remove Threaded Inserts
https://youtube.com/watch?v=lDKjqFlVjVo
Conclusion
Removing threaded inserts requires a careful selection of techniques and tools based on the specific requirements of the application. By understanding the different methods, tools, and considerations outlined in this article, you can effectively remove threaded inserts without damaging the surrounding material or compromising the integrity of your assembly.
